Water Level Adjustment
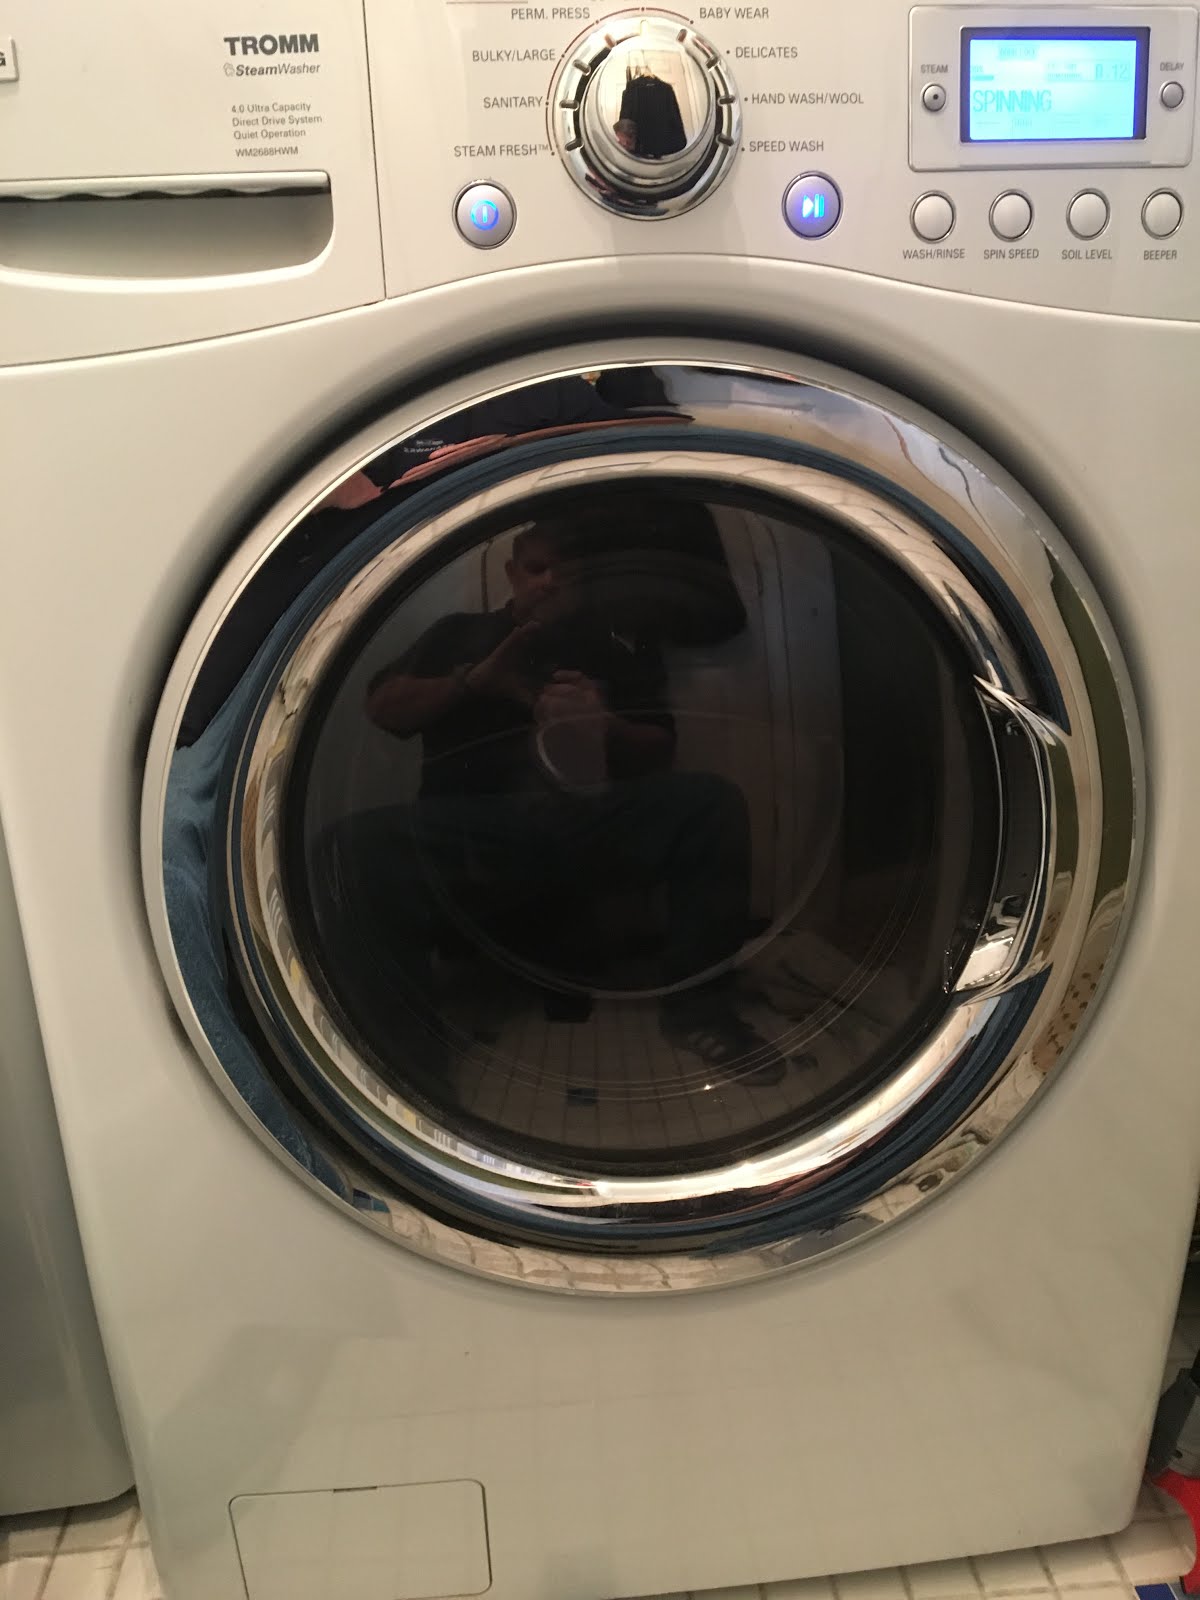 |
| LG TROMM FRONT LOADING WASHER |
Anyway I purchased an LG TROMM "HE" Front Loading washer back in 2006 as part of a set that I found on sale at Home Depot. What can I say I got a good deal and it was an upgrade from a previous Top Loader that we had for quite a few years.
Initially I thought that this would not only save water (good for the planet right?) but I would also get cleaner cloths with less water. After all, these washers use 20 to 66 percent less water than traditional agitator or standard washers. Nearly eighty percent of the operating cost of a washer goes to heating water. Lower water use means less water to heat and energy use can be 20 to 50 percent less offering long-term savings and environmental benefits. Sounds Great!
However, there are a few rules that need to be followed. Many users complain about musty odors and mildew growth in high efficiency washers. Excessive detergent residue or fabric softener residue is the culprit. This residue which also traps laundry soil is the perfect food for mildew growth. Using a cleaning cycle at least once per month, regulating how much detergent is used (never more than two teaspoons per load) and leaving the door ajar after each load to allow moisture to evaporate will prevent this issue. At least this is what I read.
Hogwash!!! Tried it, didn't work....
The culprit is that pesky little "USES LESS WATER" statement. Yeah it does use less and I can personally attest to the fact that less is not better in this case. Dirty cloths slosh around in little or no water and the get very little water to rinse the nasty out...
HERE IS THE GOOD STUFF...
I have a fix that will have you saying to yourself "Why didn't I know this before." Now mind you this fix may not work on every front loader model but after reviewing many "YouTube" videos I have come to the determination that it should fit the bill for most...
Required Tools:
1 Philips Screw Driver
1 Silver or Gold Sharpie Marker
1 Flashlight
Top Rear of Machine (Cover Removed)
Step 1: Unplug the machine.
Step 2: Pull the washer away from the wall. You want to be able to access the top cover retaining screw located on the right and left side of the top cover. On this model there are only 2 screws.
Step 3: Remove two retaining screws and slide the cover back about an inch or so.
Step 4: Lift off cover. Place the cover and two screws aside.
Top Front of Machine (Cover Removed)
Step 5: In the back left corner near the bundle of hoses, locate the water level sensor switch. You will need the flashlight to pull back the hoses and illuminate the top of the switch.
Water Level Sensor Switch (Adjustment Screw Location)


Step 8: Run a final test using the quick wash setting. Place a normal load of laundry in the machine and use your half the normal amount of detergent. Watch the water level on the load as the machine fills.
NOTE: Remember it takes a while for the water level to rise to it's final resting place when cloths are present because they have to get saturated before the water level will rise. Also take note of the soap level at this time. I found out too late that using the amount of soap I used to use to get my cloths clean was way too much with the new tater level. Opt for less and watch the suds. I had an overflow of suds on the first wash load of towels. I had to rinse them a second time.
Step 9: Using your sharpie marker, indicate inside the machine near the adjustment screw how many turns you placed on the screw. This will help later if you need to go back and make changes to the configuration. (I just wrote a big 2 near the screw).
Step 10: Place top back on washer and slide in place.
Step 11: Install two retaining screws. Slide washer back in place.
It was really as simple as that. I thought I would never get clean cloths with this machine. I now know that it works great when there is enough water to do the job! As a side note, remember that this fix will undoubtedly void the warranty on a new washer if they find out that you messed with things. So, only do this to your machine if you just don't care or no longer have a warranty (which was my case).
I hope this helps at least a few of you out there. Post in comments your fix. I would like to hear what others did to solve similar issues.
Front loading washer; water level adjustment; LG washer water level; LG Front Loading washer water level adjustment; Musty smelling laundry; washer stinks; cloths not clean.
The culprit is that pesky little "USES LESS WATER" statement. Yeah it does use less and I can personally attest to the fact that less is not better in this case. Dirty cloths slosh around in little or no water and the get very little water to rinse the nasty out...
HERE IS THE GOOD STUFF...
I have a fix that will have you saying to yourself "Why didn't I know this before." Now mind you this fix may not work on every front loader model but after reviewing many "YouTube" videos I have come to the determination that it should fit the bill for most...
Required Tools:
1 Philips Screw Driver
1 Silver or Gold Sharpie Marker
1 Flashlight
Top Rear of Machine (Cover Removed)

Step 1: Unplug the machine.
Step 2: Pull the washer away from the wall. You want to be able to access the top cover retaining screw located on the right and left side of the top cover. On this model there are only 2 screws.
Step 3: Remove two retaining screws and slide the cover back about an inch or so.
Step 4: Lift off cover. Place the cover and two screws aside.
Top Front of Machine (Cover Removed)

Step 5: In the back left corner near the bundle of hoses, locate the water level sensor switch. You will need the flashlight to pull back the hoses and illuminate the top of the switch.
Water Level Sensor Switch (Adjustment Screw Location)

Step 6: Using a silver (or gold) sharpie marker, mark the current position of the screw in the top of the switch. Make sure to mark both the screw and the housing. There may be a red mark already on the screw. This is the factory setting mark.
Step 7: Using the Philips screw driver, rotate the water level adjustment screw one complete turn. Pay close attention to your marks.
At this point I left the cover off and plugged the machine back in. I then ran a quick wash to test the new water level. I noted that the water level did increase, but still looked too low. I was looking for a water level up on the door glass. So I rotated the adjustment screw one more time.
New and Improved Water Level

Step 8: Run a final test using the quick wash setting. Place a normal load of laundry in the machine and use your half the normal amount of detergent. Watch the water level on the load as the machine fills.
NOTE: Remember it takes a while for the water level to rise to it's final resting place when cloths are present because they have to get saturated before the water level will rise. Also take note of the soap level at this time. I found out too late that using the amount of soap I used to use to get my cloths clean was way too much with the new tater level. Opt for less and watch the suds. I had an overflow of suds on the first wash load of towels. I had to rinse them a second time.
Step 9: Using your sharpie marker, indicate inside the machine near the adjustment screw how many turns you placed on the screw. This will help later if you need to go back and make changes to the configuration. (I just wrote a big 2 near the screw).
Step 10: Place top back on washer and slide in place.
Step 11: Install two retaining screws. Slide washer back in place.
It was really as simple as that. I thought I would never get clean cloths with this machine. I now know that it works great when there is enough water to do the job! As a side note, remember that this fix will undoubtedly void the warranty on a new washer if they find out that you messed with things. So, only do this to your machine if you just don't care or no longer have a warranty (which was my case).
I hope this helps at least a few of you out there. Post in comments your fix. I would like to hear what others did to solve similar issues.
Front loading washer; water level adjustment; LG washer water level; LG Front Loading washer water level adjustment; Musty smelling laundry; washer stinks; cloths not clean.
No comments:
Post a Comment